Een tijdje terug schreef Hugo een gastblog over het bouwen van een inbouwkast onder een schuin dak met Ikea PAX. Orlando was zo geïnspireerd door deze blog dat hij besloot samen met zijn vriendin Natasja aan de slag te gaan op zolder.
Hier deelt hij zijn ervaring en geeft hij drie waardevolle tips voor het maken van een inbouwkast onder een schuin dak.
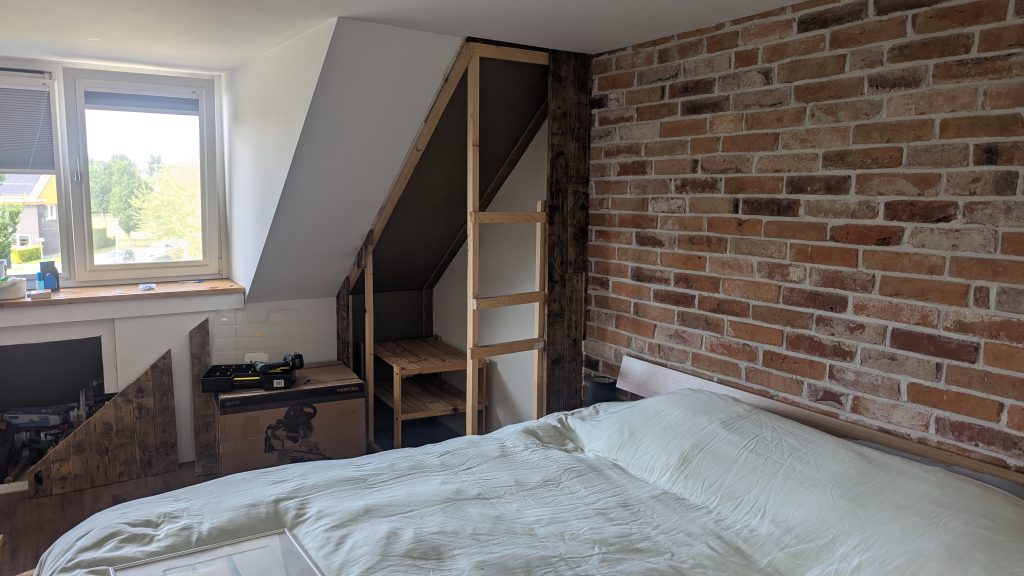
Tip 1: Schuin afzagen en reststukken gebruiken
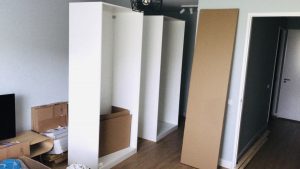
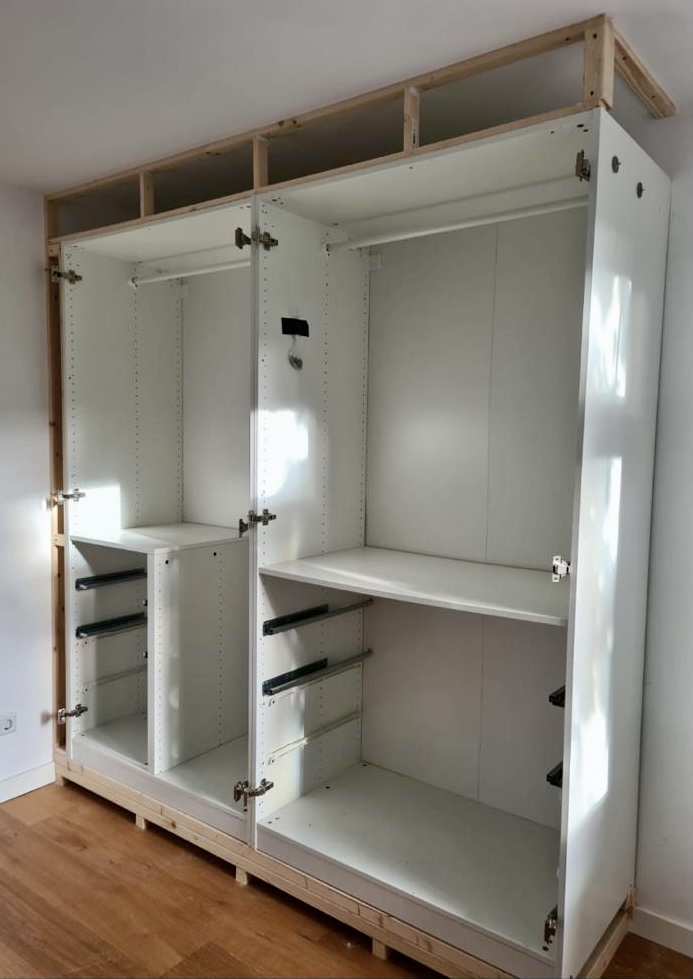
Het begon met het schuin afzagen van de kasten zodat ze precies onder het dak pasten. Dit klinkt misschien eenvoudig, maar het vereist nauwkeurigheid en geduld. Hij gebruikte de reststukken van de kasten om de bovenkant weer ‘dicht’ te maken. Dit zorgde voor een mooi afgewerkt eindresultaat. Dit een cruciale stap om een professionele uitstraling te krijgen.
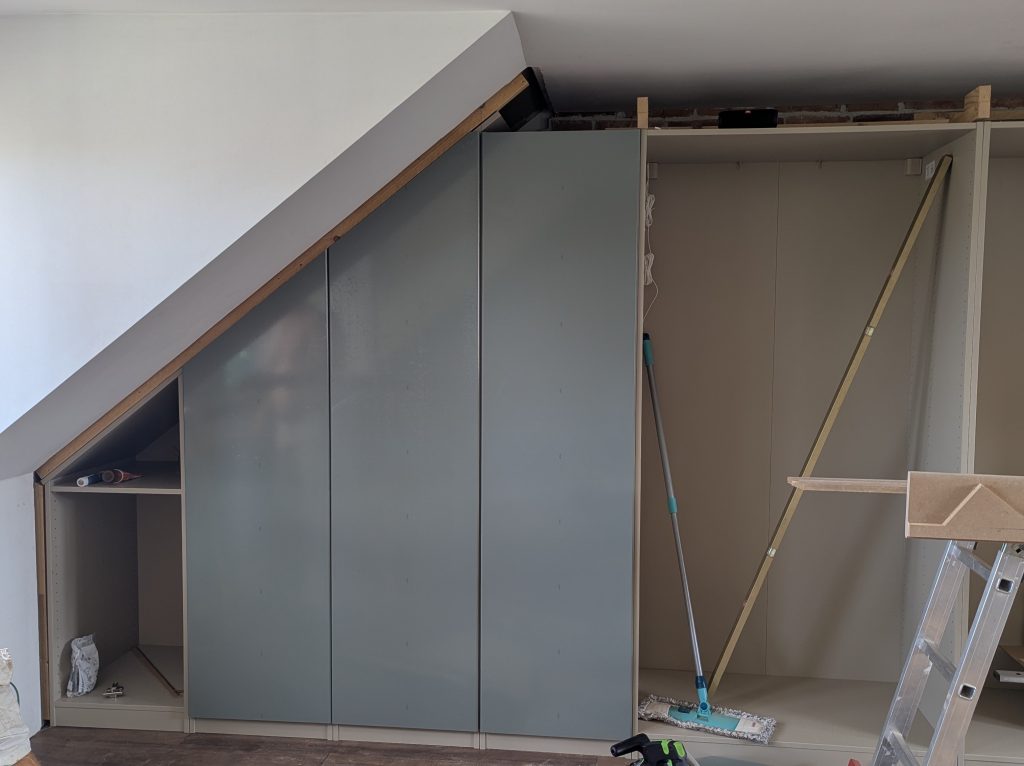
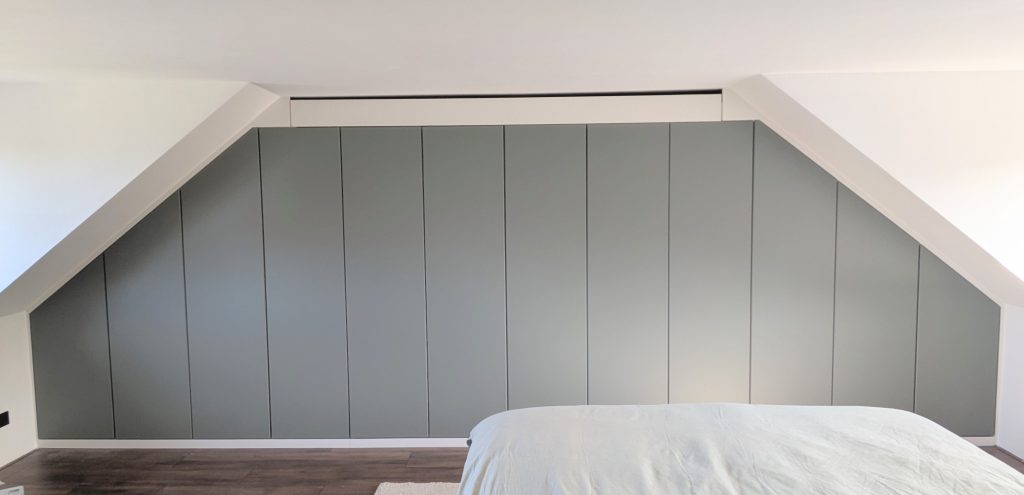
Tip 2: Deuren vullen en afwerken
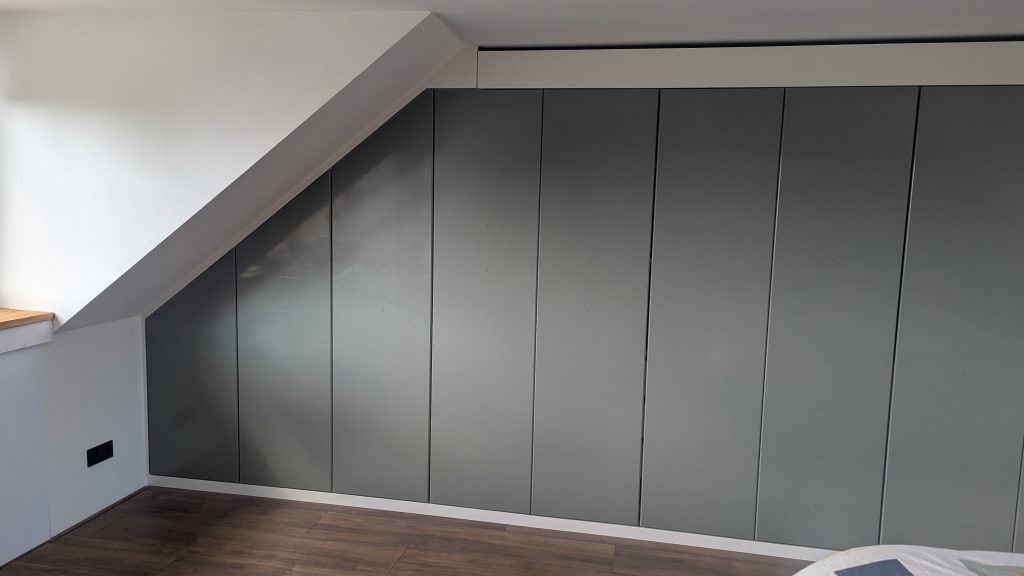
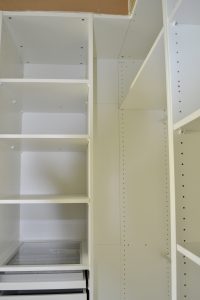
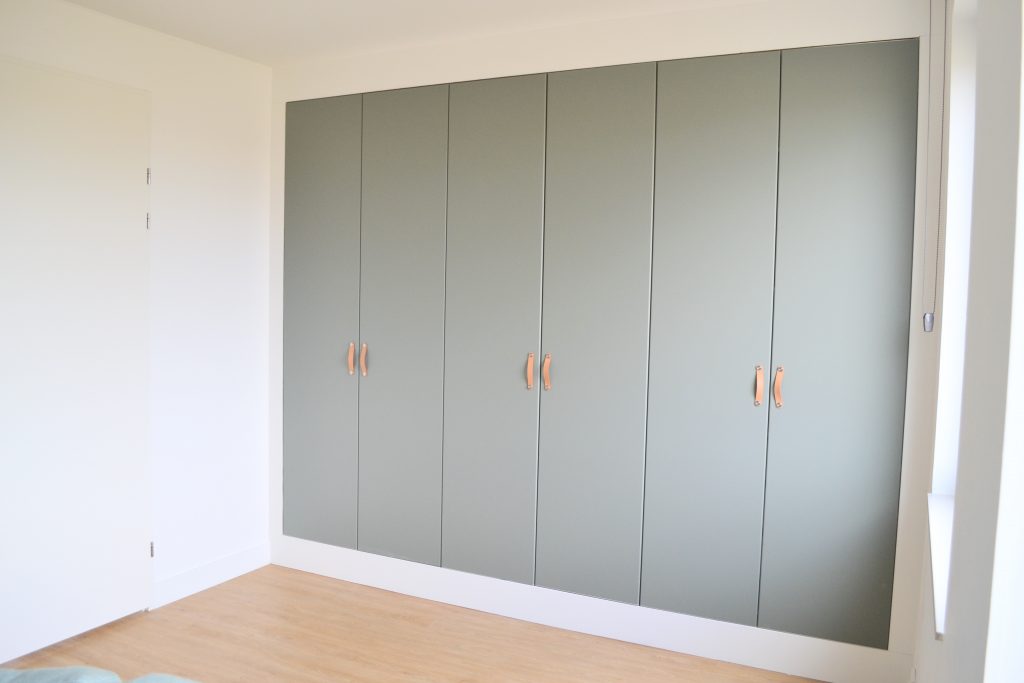
De afgezaagde deuren waren een ander verhaal. Orlando vulde de afgezaagde randen met MDF-vuller. Dit materiaal is ideaal om een gladde afwerking te krijgen. Na het vullen, schuurde hij de deuren, grondde ze en lakte ze af. Het resultaat zie je hieronder. De deuren zien eruit alsof ze op maat gemaakt zijn voor de ruimte.
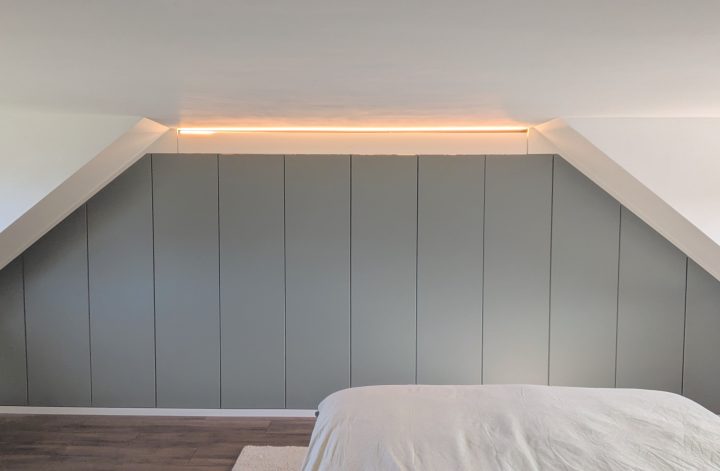
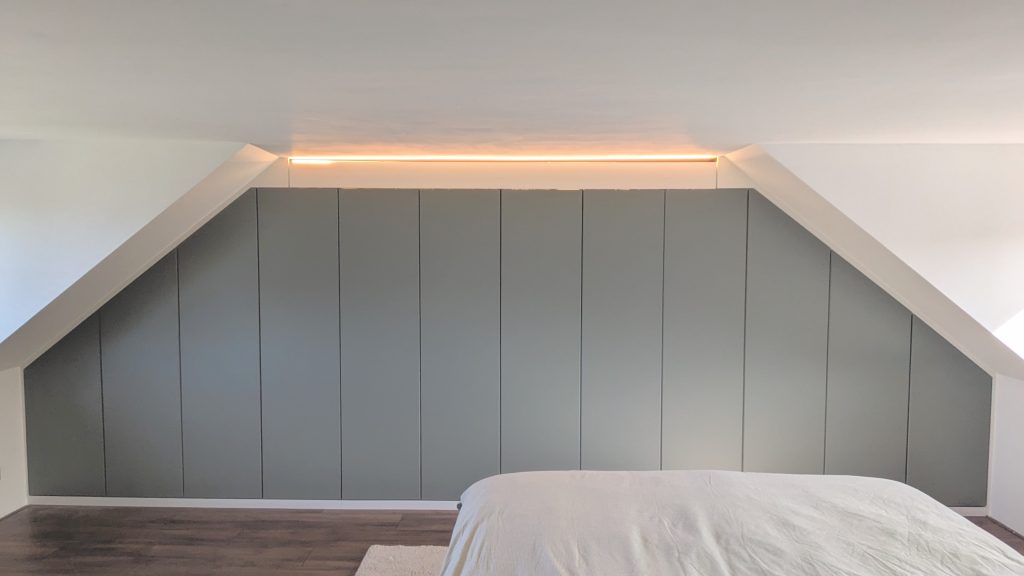
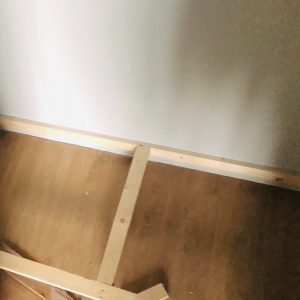
Tip 3: Plinten en verlichting
Om de kast helemaal af te maken, besloot Orlando zelf plinten te maken aan de bovenkant. Dit gaf niet alleen een nette afwerking, maar bood ook de mogelijkheid om verlichting te installeren. Hoewel dit extra werk met zich meebracht, was het de moeite waard. De verlichting zorgt voor een sfeervolle en functionele ruimte op zolder.
In totaal is hij zo’n tien dagen bezig geweest met dit DIY project. En wat een prachtig resultaat!
Enthousiaste reacties: inbouwkast onder een schuin dak
Het is altijd geweldig om te zien hoe mijn blogs mensen inspireren. Ik ben door mijn ‘normale’ werk en leven minder actief met NieuwHuis.Info maar dit soort reacties blijven super leuk.
Stuur dus vooral ook jouw voorbeelden én reageer hieronder.
Meer kastenblogs
Deze specifieke blog is geïnspireerd door een eerdere blogs op NieuwHuis.Info, waarin ik de basisprincipes van het maken van een inbouwkast met Ikea PAX heb besproken. Voor meer gedetailleerde informatie en stappen, kun je hier de originele blog lezen.
Building a closet with IKEA material and wood from the hardware store, that’s what we did. In this blog a step-by-step plan for your custom DIY Ikea Pax built-in hack. Long live the IKEAhack!
This blog is a translation of my original Dutch DIY blog. I got many questions from non-Dutch followers on Instagram so therefore this version. Unfortunately the rest of my website is in Dutch, sorry. Enjoy this blog and DIY-ing. And my apologies for the (hopefully little) language errors.
Step-by-step plan for your IKEA Pax Built-in Hack
This step-by-step plan is for walk-ins and built-ins. If you’re planning a built-in with doors follow all the steps below and see the extra tips at the end of this blog. In our house we build a walk-in and built-in.
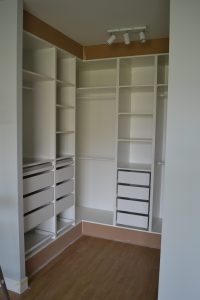
Our Ikea Hack walk-in closet
Step 1: Measure the space & make a global plan
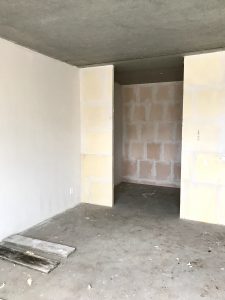
We had walls placed in our new house for a built-in closet in our bedroom. Decide which space you’re going to use, measure it and make a global plan.
The walls places for the walk-in
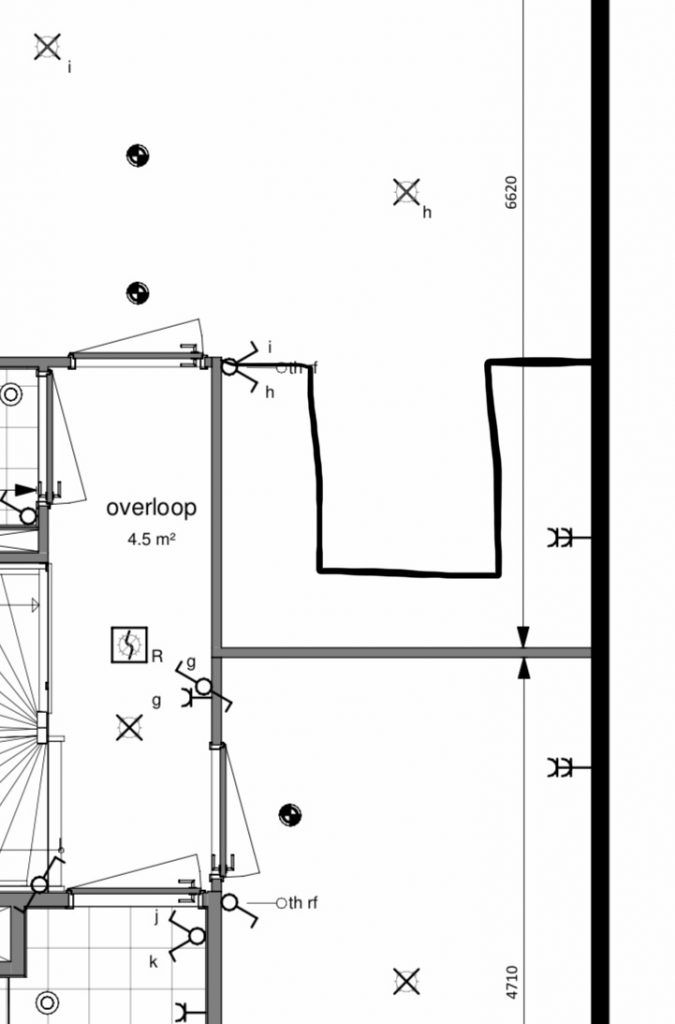
PAX cabinets have standard sizes (100 cm, 75 cm or 50 cm) so that’s your base. The width is 58 cm so that’s your starting point when measuring.
My first sketch of the walk-in closet
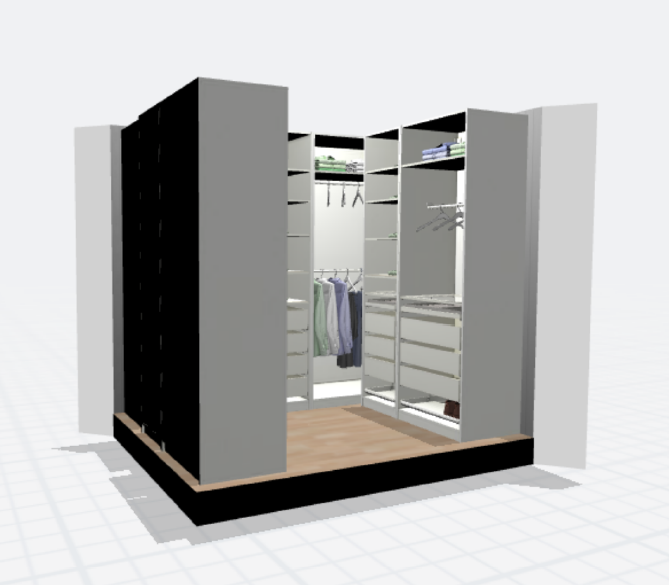
Step 2: Design your walk-in closet in the PAX planner
You can design your closet in the PAX planner. I love symmetry so I mirrored the sides. Of course you can decide for yourself what you like best. With the planner you immediately get a list of materials and an impression of the wardrobe.
Design your closet in the PAX planner
The disadvantage of a fixed space (a room / placed walls) is that the elements of Ikea almost never fit exactly.
And that is exactly why this DIY Ikea Hack is brilliant.
Important: Create a design with only straight cabinets (no corner elements.) These are much more expensive and since you are going to build-in it’s not necessary.
Step 3: Order/ buy your cabinets
Order the cabinets and one extra cabinet as sawing material for the space in between the cabinets in the corner.
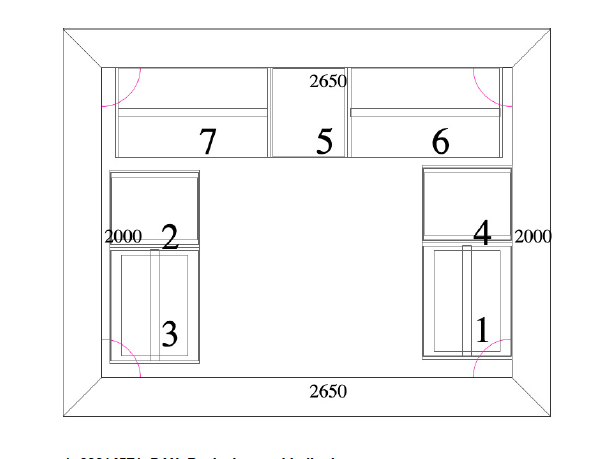
Top view of our walk-in with space in the corners
As you can see above. We put the cabinet against the small walls to have some extra space on the short side (the sides) and the long side. This creates space between cabinets 2 and 4 and the cabinets on the long side.
An extra advantage is that we can now better reach the clothes in the corner because there is more space.
Step 4: Arrange a carpenter or build it yourself
To create your own built-in you have to be a bit handy or know someone who is. You are going to build a frame. The IKEA cabinets will be put on “a base” and secured against a frame. With spruce wood you mount a frame, with glue/kit (see the kit below) and screws against the wall/ floor.
You will also put the extra pieces between the cabinets against this.
Below is an impression of what that looks like:
The baseBuild the cabinets (with
Assemble the PAX cabinets (only the conversion) and place them on the “base” and against the frame. Fasten them against the wall on the spruce base. The shelves and drawers are the last (after placing in / on the conversion) in the cabinet.
TIP: leave the socket (if you have one) free so you can always place and connect recessed lighting.
You put the cabinets on the frame. (this is a built-in example)
For the really organized people (not me) you immediately plan the light and include it in your design.
Measure the space you have left between the cabinets. Cut the pieces from the extra PAX cabinet you ordered. Secure it against your spruce base. Exactly between the PAX wardrobes so that it fits nicely. Of course, don’t forget the ceiling.
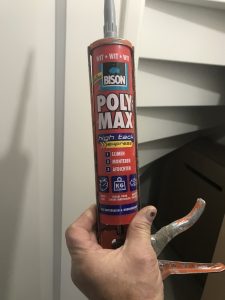
As you can see below, the material from the extra PAX was used to optimize the extra space. The boards (self-sawn to size) are stuck to the base of spruce wood with very strong sealant.
The extra space in between the cabinets is filled with the wood from the extra PAX cabinetThe Poly Max sealant we used
The base for your custom walk-in closet is in place! Yeah!
Step 6: Cove with MDF and finish the cabinet
Have MDF cut to size at the hardware store and place it against the top and bottom. Then finish the cabinet, drawers and shelves. Your custom built-in wardrobe is now almost ready.
Paint the MDF plates with a slightly shiny lacquer. We used a silk white from Flexa. This is about the color of the PAX cabinet.
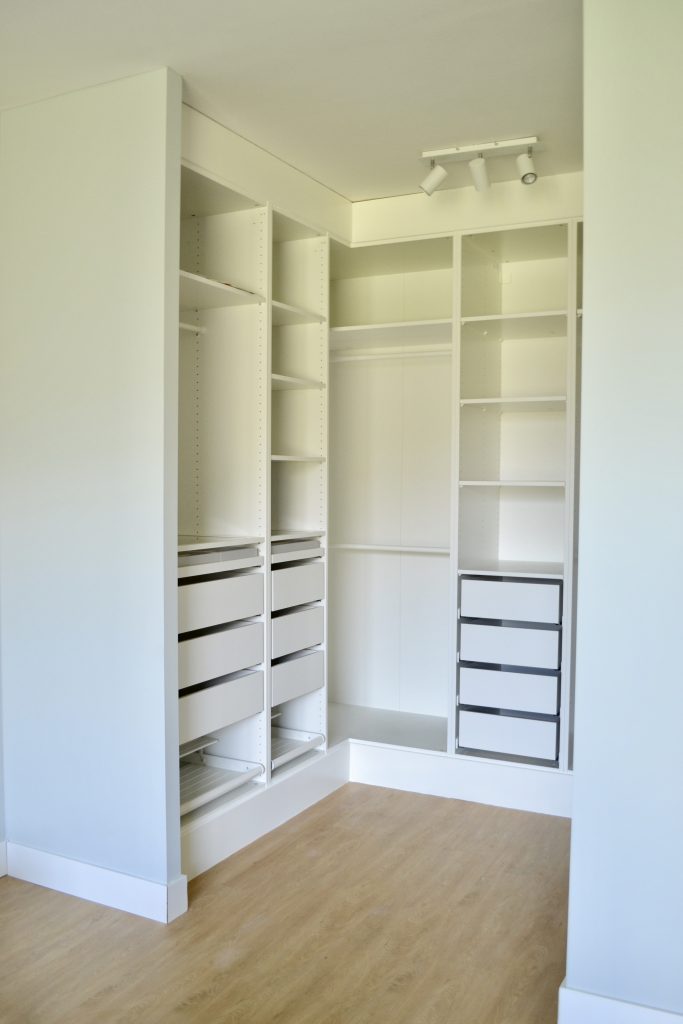
Step 6: Taaaadaa
On the picture below you’ll see the end result for our walk-in. On my Instagram account you will find several cabinets that are built in this way.
DIY walk-in closet
What do you need for a custom built-in wardrobe?
Check out the overview below:
• Cabinet design PAX Ikea (made with the PAX wardrobe planner) • Extra cabinet for sawing material • Spruce wood • Mdf • Kit Poly Max • Screws • Lacquer paint for the cove • Possibly. lighting
Extra tips for built-in with doors:
As you can see at step 4 it’s smart to first put in the hinges if you’re building a cabinet with doors.
With doors it’s really important to measure the MDF material for the cove correctly. Otherwise the doors with not open smoothly.
For built-ins against straight walls you don’t need the extra cabinet for sawing material.
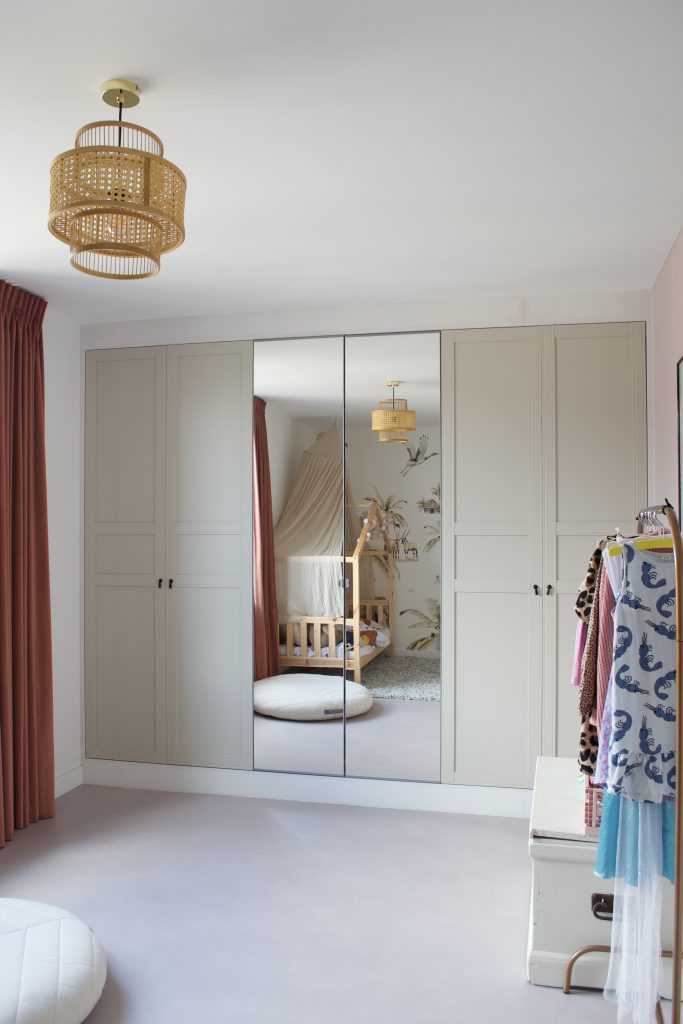
Our Ikea Pax Built-in
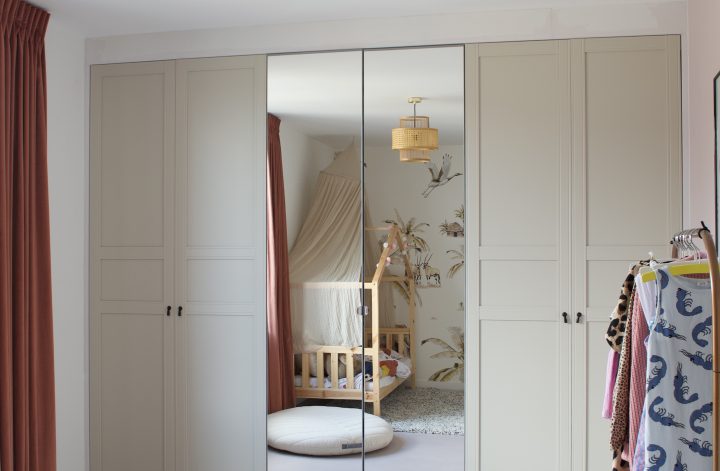
More DIY Ikea PAX Hack examples
Want to see more examples? Regularly I get pictures of DIY’er that used my blog and build their own built-in. In the Dutch blogs below you can see the result of these projects.
DIY Built-in example
Reply and follow
Did you like (and used) this blog? Please reply below. Love to hear from you. And want to see more up-to-date examples? Follow me on Instagram of Pinterest.